Faveo HELPDESK 
Documentation v.1.0.1
Documentation v.1.0.1
Faveo Helpdesk is an open source ticketing system build on Laravel framework. We plan to come up with 1 to 2 updates every month from October 2015 onwards. It can be integrated with email, as well as web forms. Faveo is designed for startup’s & SME’s, keeping simplicity in mind and ease of use..
We provide bug fixing and security updates for all the Faveo product line. We will continue to support & maintain Faveo
To purchase/download Faveo please login to www.faveohelpdesk.com
The Faveo has a few system requirements.
If you are unsure whether your server meets these requirements, please check with your host or webmaster before proceeding with the installation.You will need one MySQL database with valid user, password and hostname handy during installation. MySQL user must have FULL privileges on the database. If you are unsure whether you have these details or if the user has sufficient permissions, please consult your host or database admin before proceeding.
Faveo comes with web-based installer to help guide you through the installation process. While the installer provides step by step guide during the installation process, it's important and helpful to have general knowledge about Web servers, PHP and MySQL.
At this point you should have downloaded latest version of Faveo. Uncompress the files and upload files and directories in upload folder to a directory of your choice on your server. For example /faveo/, /helpdesk/ or /support/ depending on your preference. Basic knowledge of using FTP is a plus at this stage. If you don't know how to use FTP, we would recommend you read the documentation supplied with your FTP client and learn the basics of uploading and setting permissions on files. Faveo installer needs to be able to write and modify database.php found in the code/config/ directory. Please follow the instructions given by the installer.
Once all of the above steps are complete, you can complete the installation and basic setup in a web browser. You can invoke the installer by simply browsing the Faveo URL e.g http://www.yourdomain.com/support. Faveo installation script will attempt to auto-detect paths and any permission issues. Please follow the instructions to finish up the installation process. If the script spots any configuration errors then it will not allow you to continue until the errors are corrected.If everything checks out, you will be presented with a form to fill in the required information. If any errors occurs, go back and check the data entered. On valid data the script will create and populate the database plus write a configuration file. Note that the installer performs basic configuration required to get Faveo up and running. Further configuration is required, post-install, to make the system fully functional.
Screenshot of step-by-step installer
For some reason if auto install script doesn’t work for you, worry not there is a manual way to install Faveo.
Depending on your host you can login to your web hosting control panel or server, create database, user & password and import the sql dump file here. SQL dump file is stored in following location code/database/faveo.sql
Go to following location & file code/config/database.php Update the database connection details here Default user name & Password to access Faveo will be
All of the configuration files for the Faveo are stored in the config directory.
After installing Faveo, you may need to configure some permissions. Directories within the storage and the bootstrap/cache directories should be writable by your web server
The framework ships with a public/.htaccess file that is used to allow URLs without index.php. If you use Apache to serve your Faveo application, be sure to enable the mod_rewrite module. If the .htaccess file that ships with Faveo does not work with your Apache installation, try this one: Options +FollowSymLinks RewriteEngine On RewriteCond %{REQUEST_FILENAME} !-d RewriteCond %{REQUEST_FILENAME} !-f RewriteRule ^ index.php [L]
On Nginx, the following directive in your site configuration will allow "pretty" URLs: location / { try_files $uri $uri/ /index.php?$query_string; }
Faveo helpdesk is ticket based support system View Tickets Login to application and click on inbox Reply Tickets Login to application and click on inbox and then open a ticket and there is a reply option
Login to application and click on inbox and then open a ticket and there is a internal notes option. This internet notes cannot be seen by end client only by agents & admin
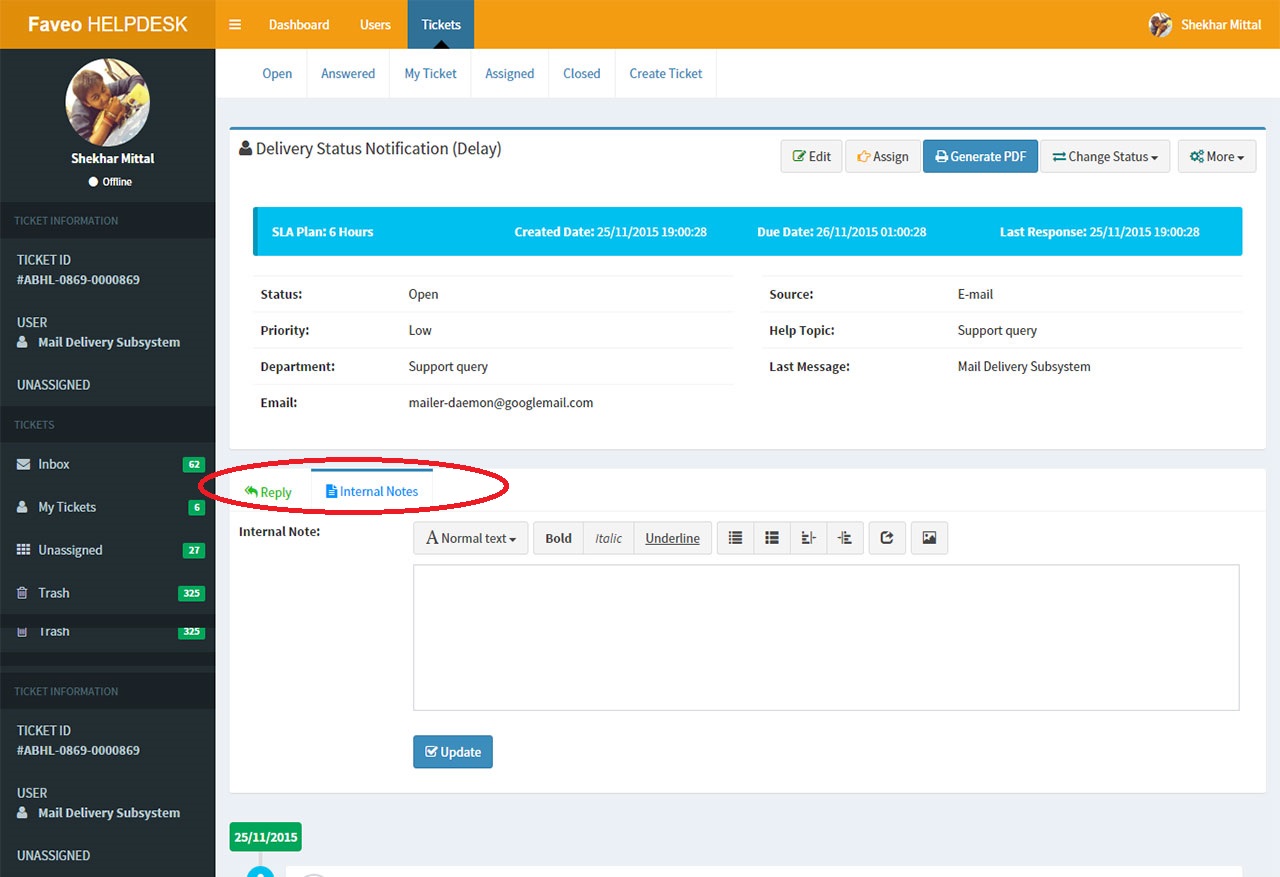
Add internal notes Screenshot
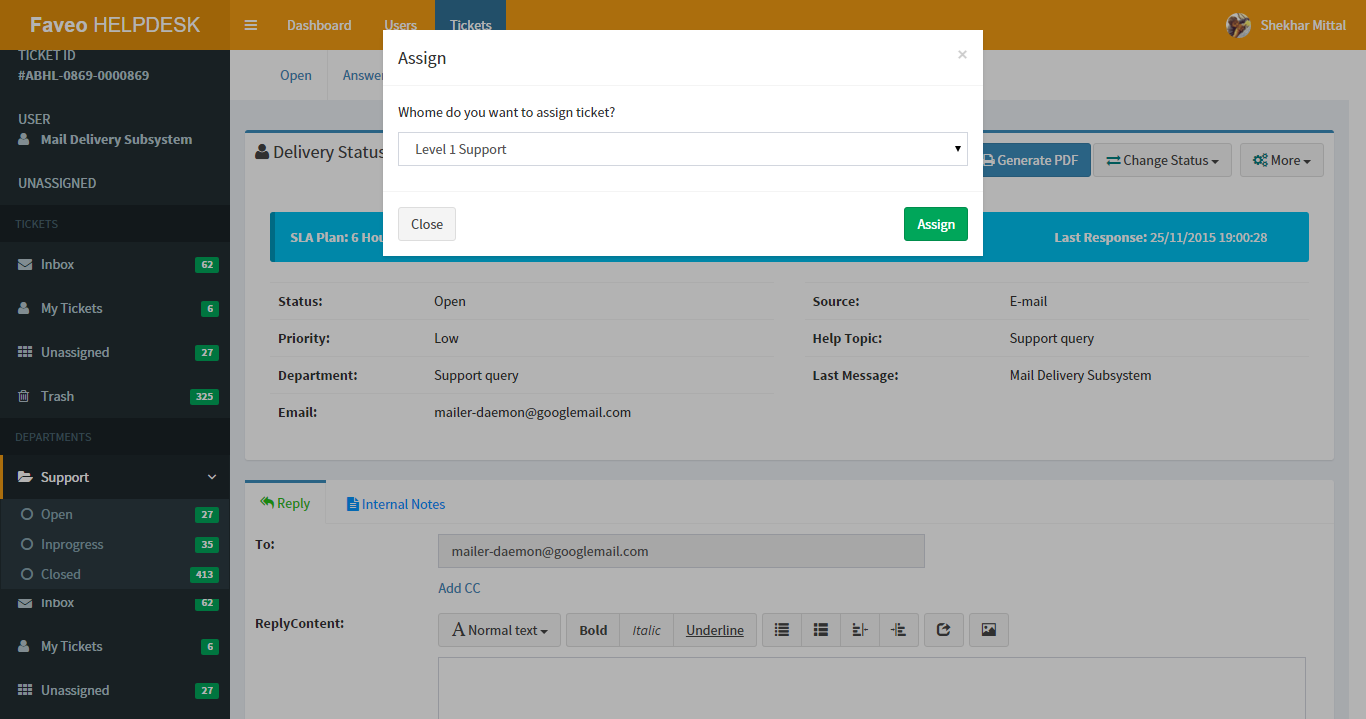
Login to application and click on inbox and then open a ticket and click on assign ticket and choose the agent name or team name whom you want to assign the ticket too.
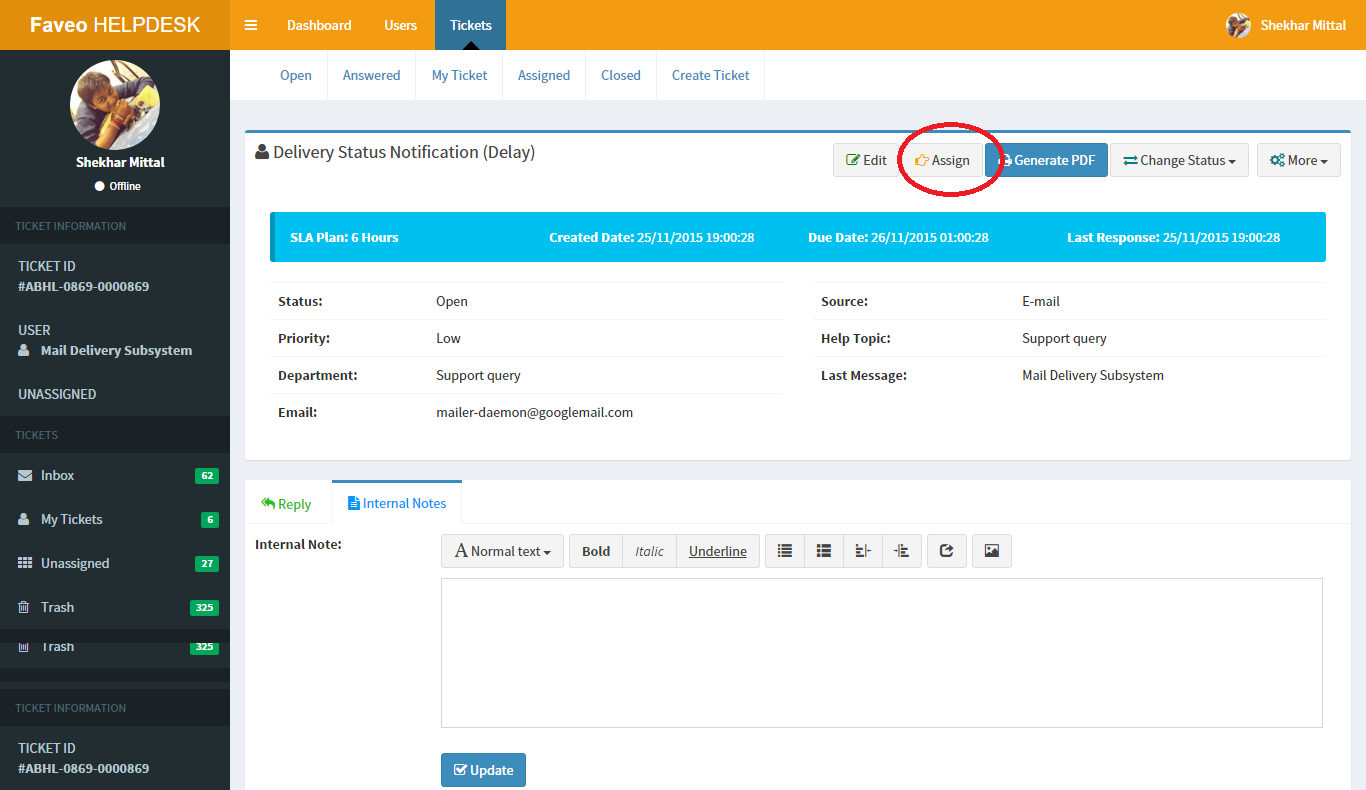
Assign tickets to agents Screenshot
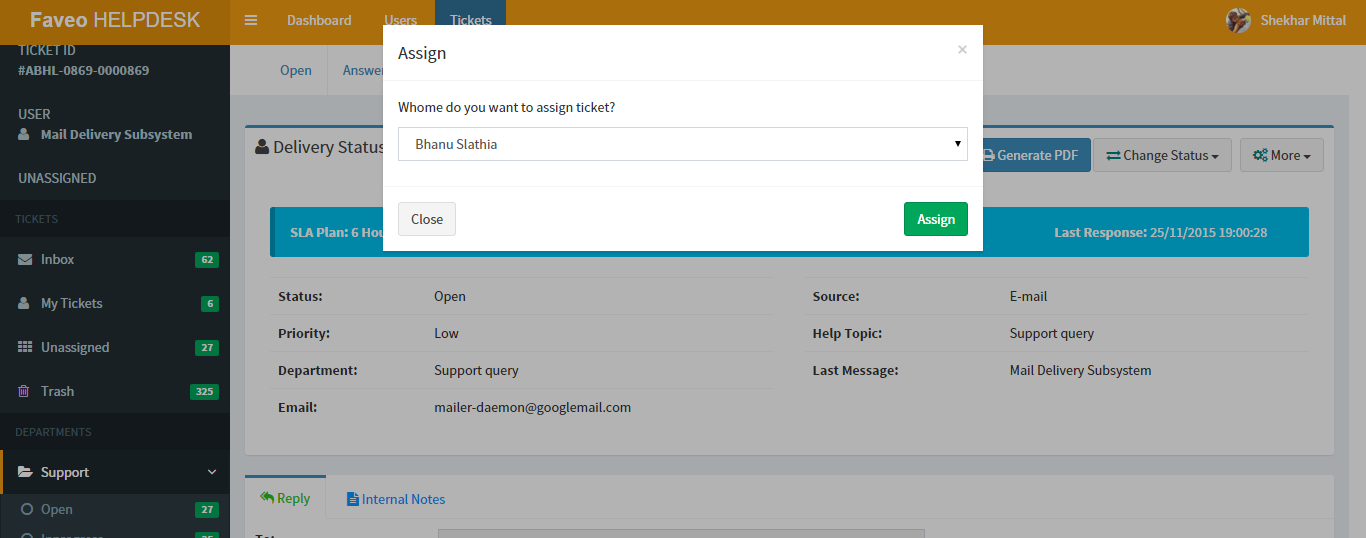
Assign tickets to agents Screenshot
Assign tickets to Teams Screenshot
Click on Admin panel in the top bar. Here you will see list of existing agents, you can add, edit agents here
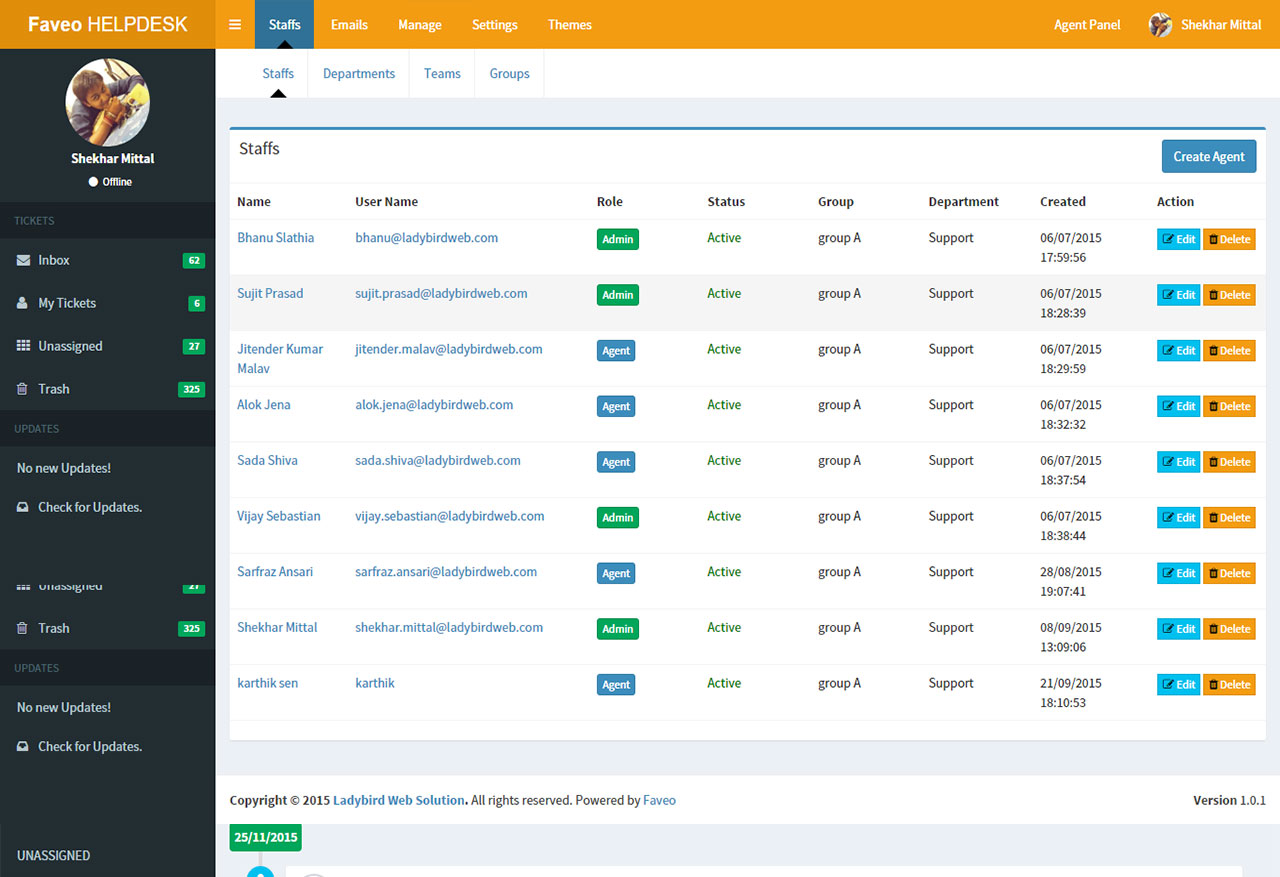
Add agents Screenshot
Click on Admin panel in the top bar. Here you will see list of existing department, you can add, edit departments here
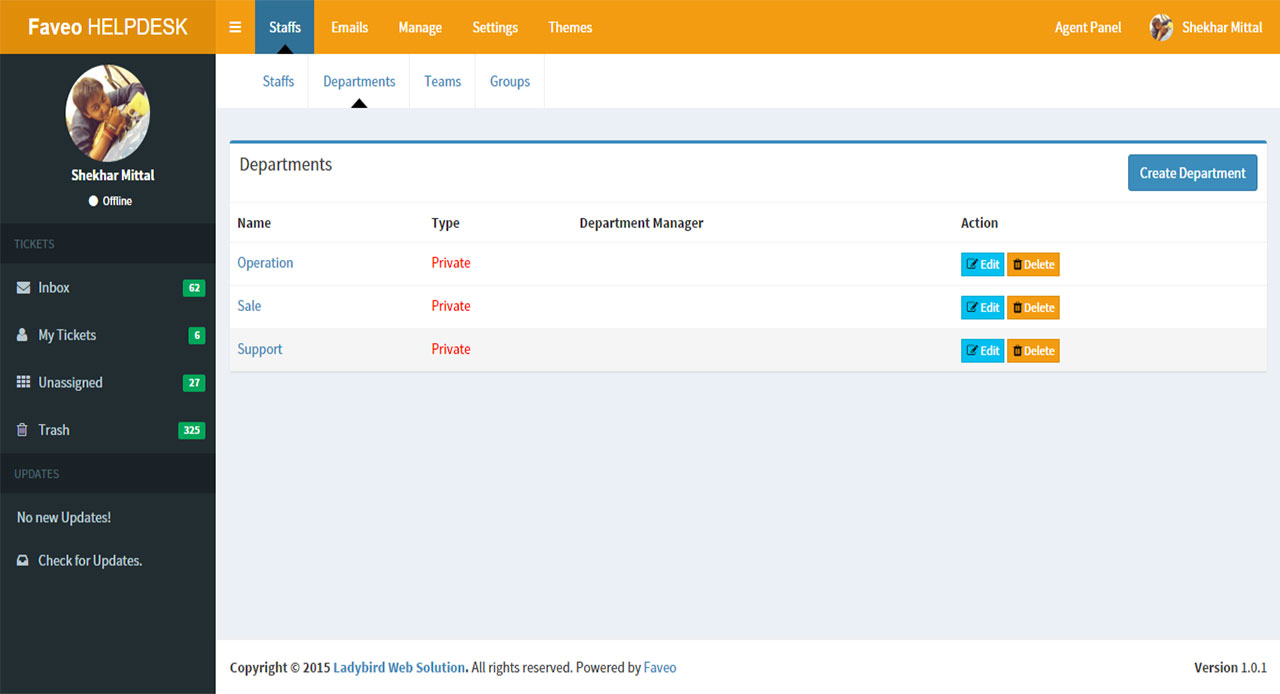
Add Department Screenshot
Tickets can be assigned different priorities; Priorities can be edited & updated. Different color tags are used for different priorities. Default priority can be associated with department name and help topic. Login to application and click on inbox and then open a ticket.Click on edit option and choose the priority option.
Change priority Screenshot
Go to admin panel then click on settings and select tickets.
Change default priority Screenshot
Go to http://ladybirdweb.com/support/ this link then you will find a option "submit a ticket".click on it and fill the entry and click on send.
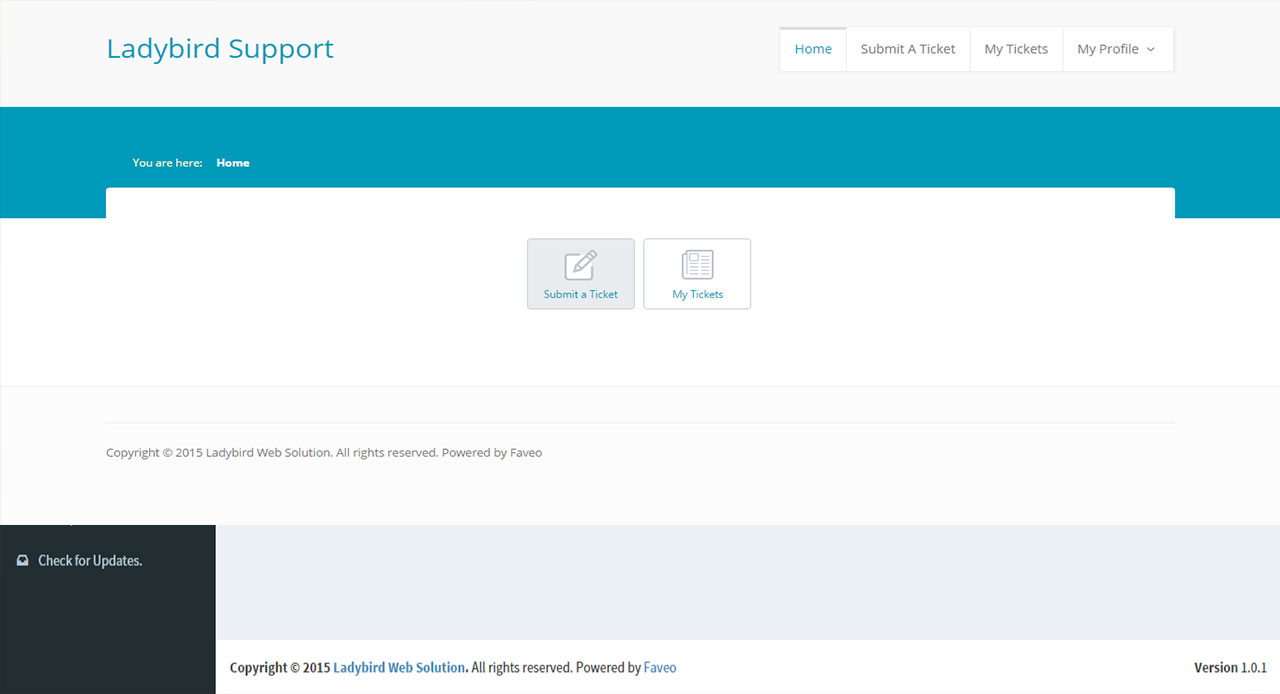
Raising a ticket by client via Frontend Screenshot
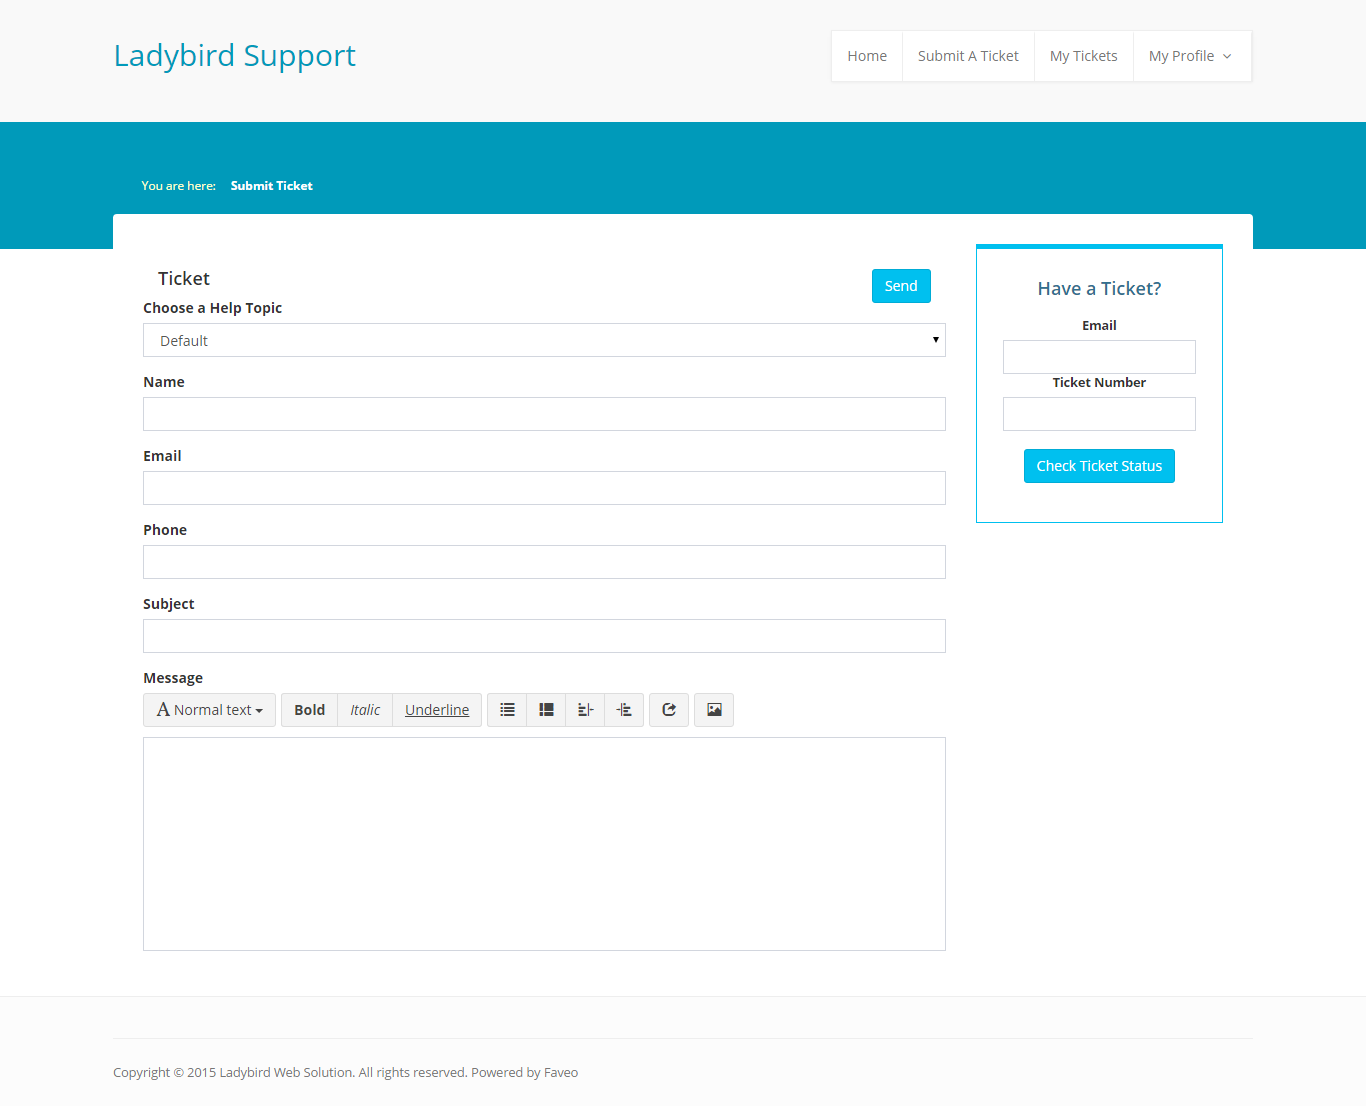
Raising a ticket by client via Frontend Screenshot
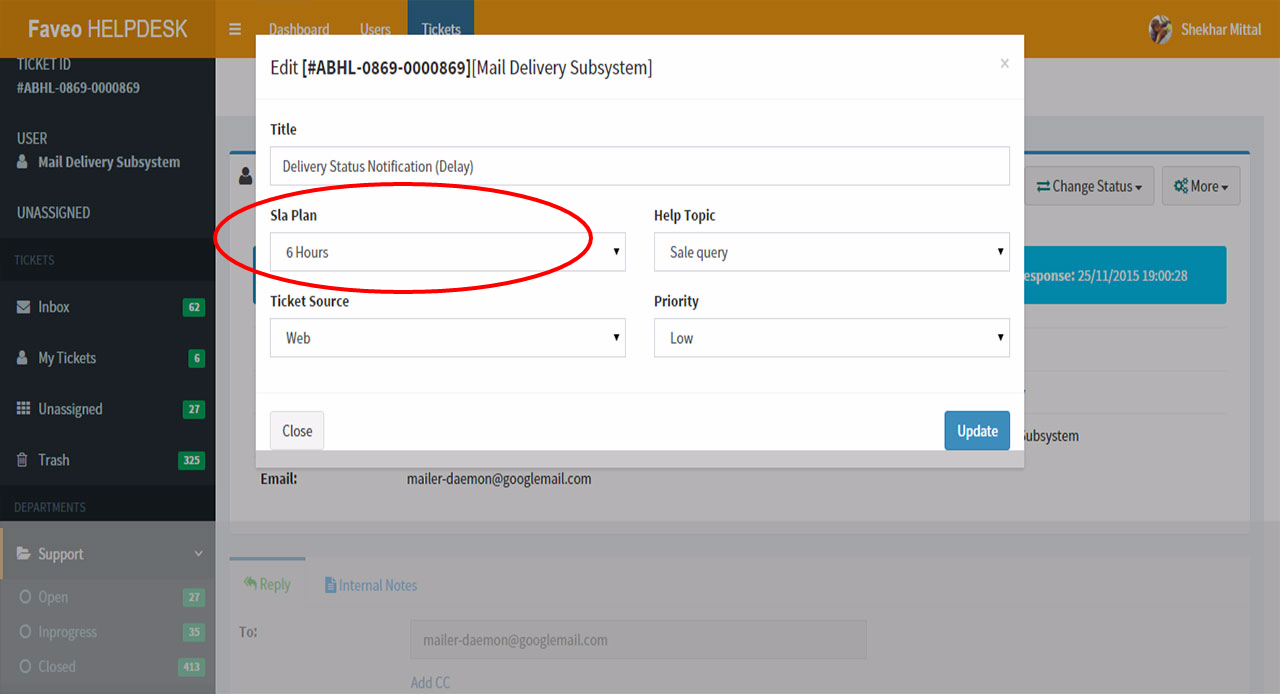
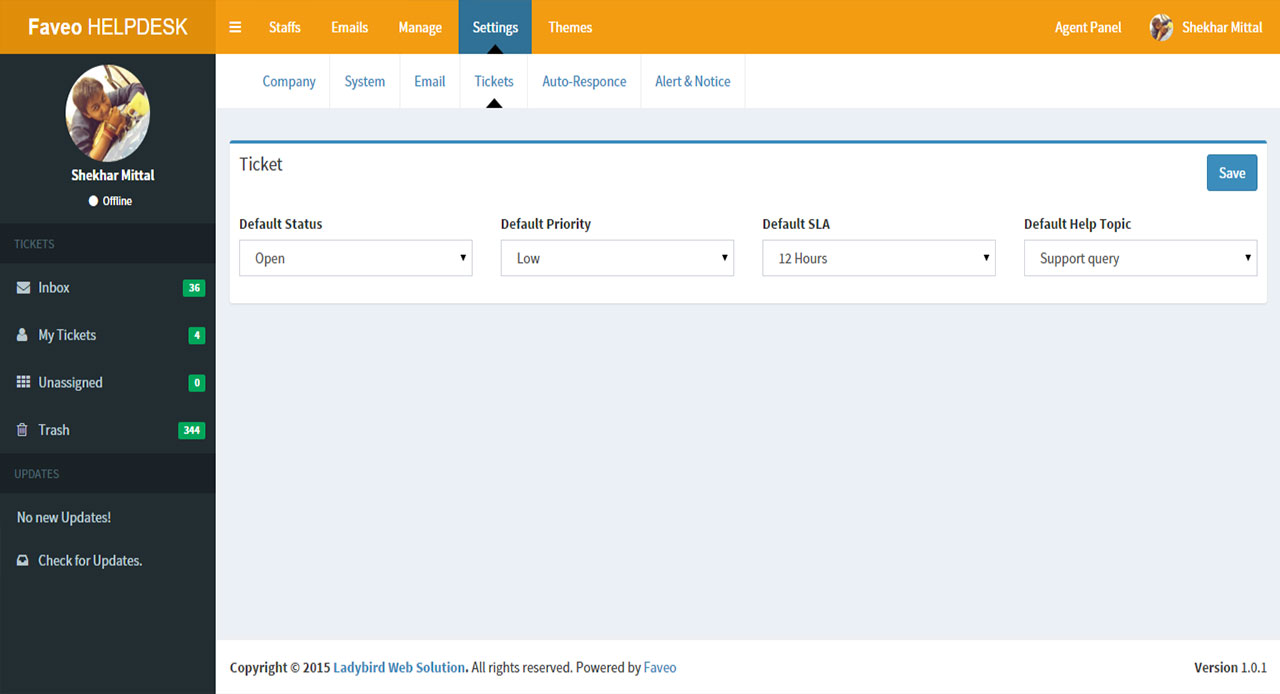
Tickets can be assigned SLA and SLA can be edited later also. Default SLA can be associated with department name and help topic.
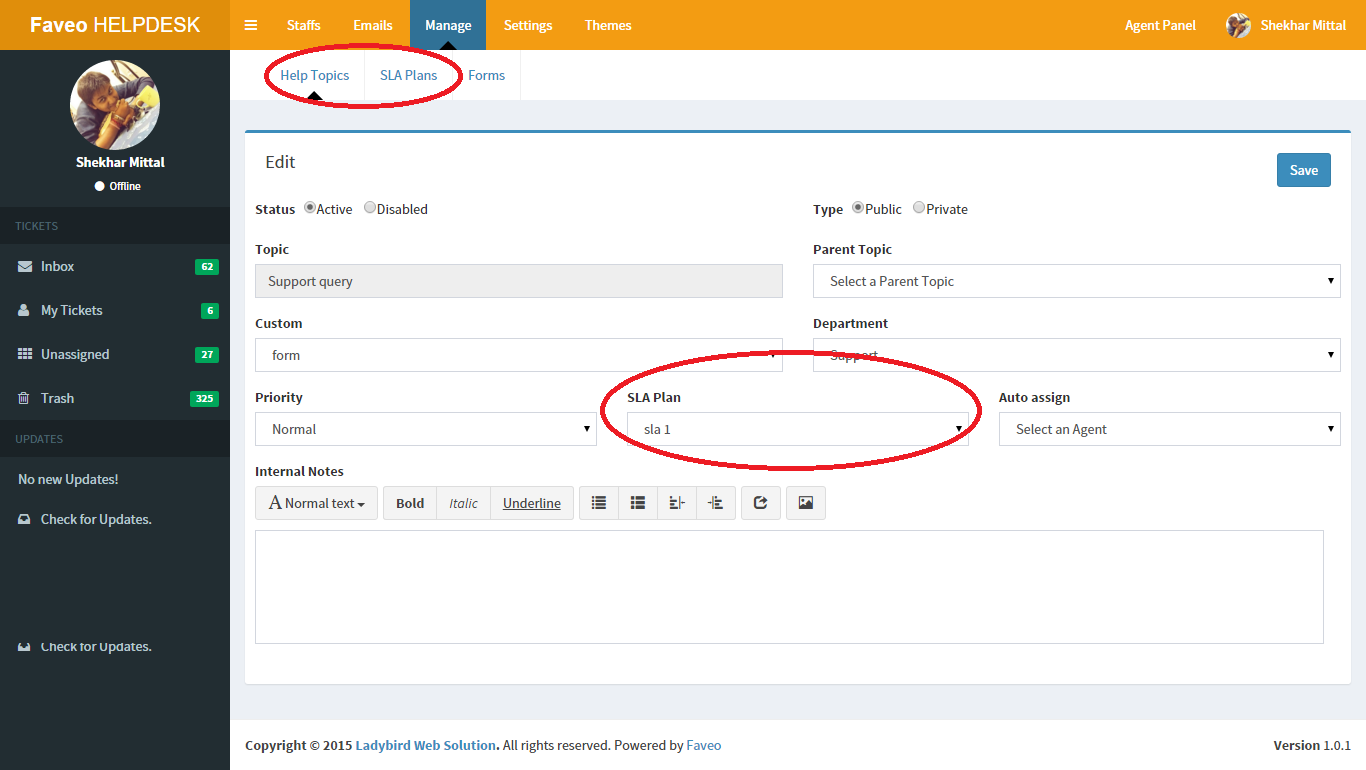
Manage SLA Screenshot
Go to admin panel then click on settings and select tickets.
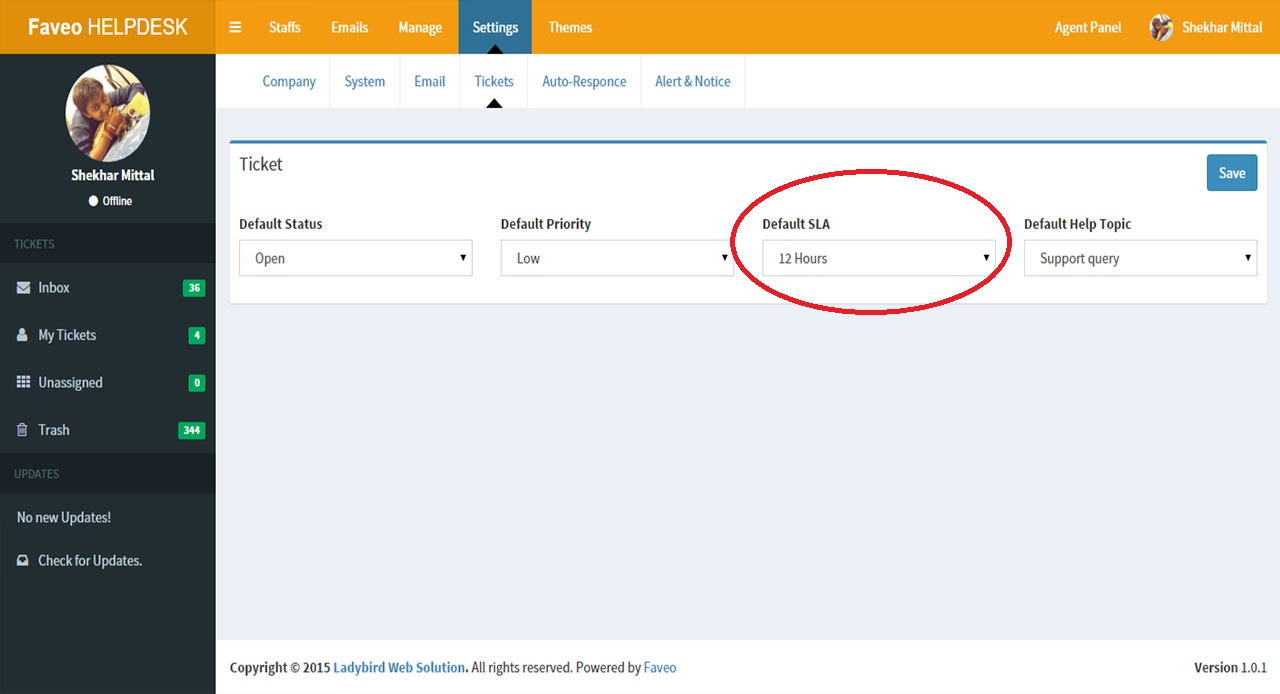
Change default SLA Screenshot
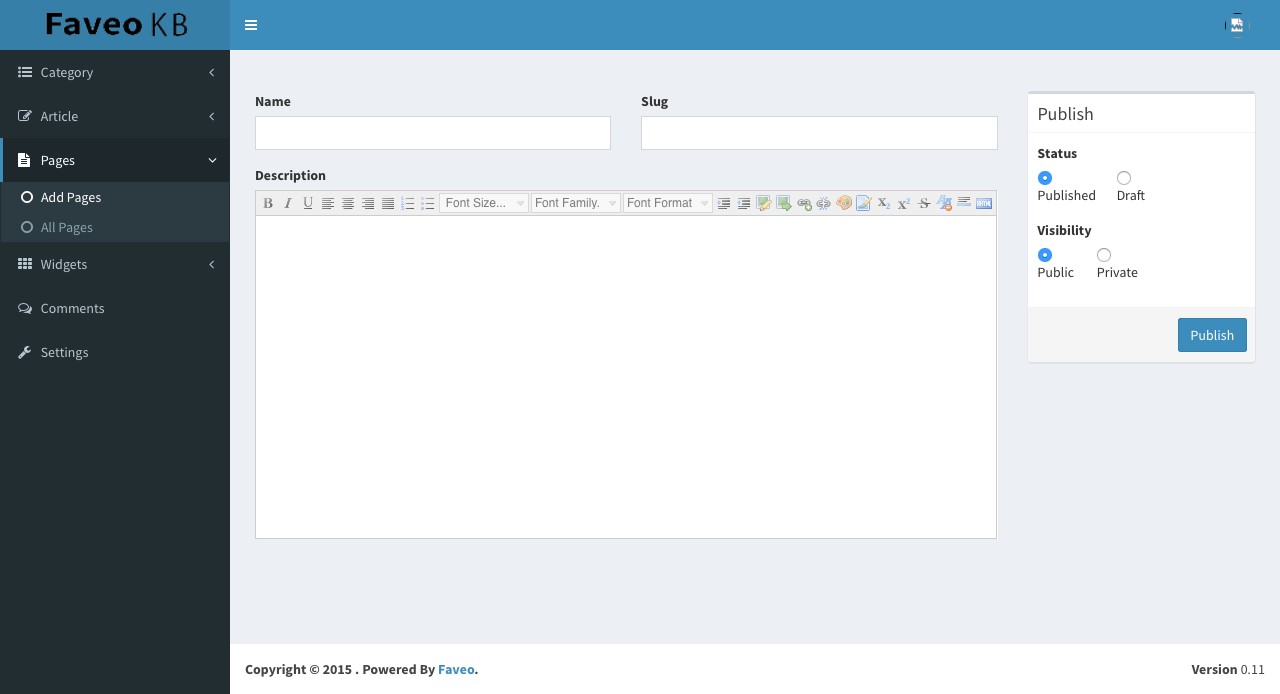
Add, update & delete Pages.In the sidebar menu, click on KB and sub dropdown Pages >> All Pages Here you will see existing Pages if any and also option to add new Pages or update or delete existing. Pages can be stand along pages e.g about us or with fixed content. They are not linked to categories
Approve & delete Comments. In the sidebar menu, click on KB and sub dropdown Comments >> All Comments Here you can approve & delete comments
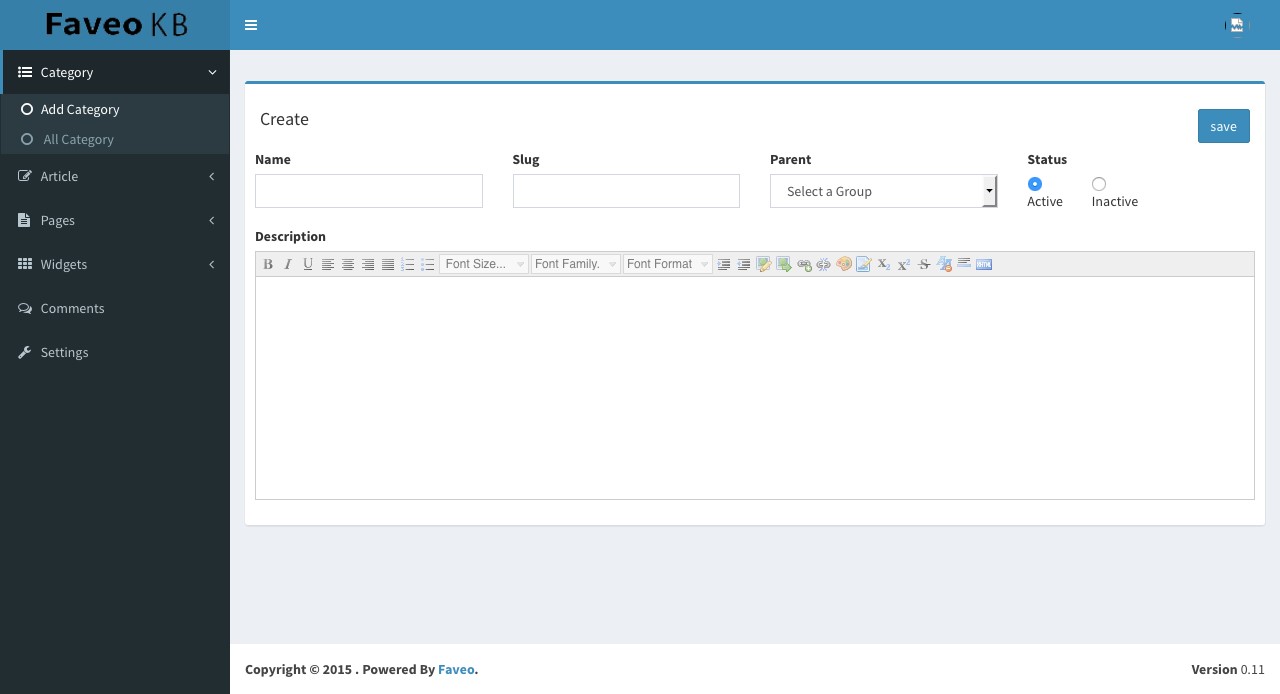
Add, update & delete Category In the sidebar menu, click on KB and sub dropdown Category >> All Category Here you will see existing Categories if any and also option to add new Category or update or delete existing.
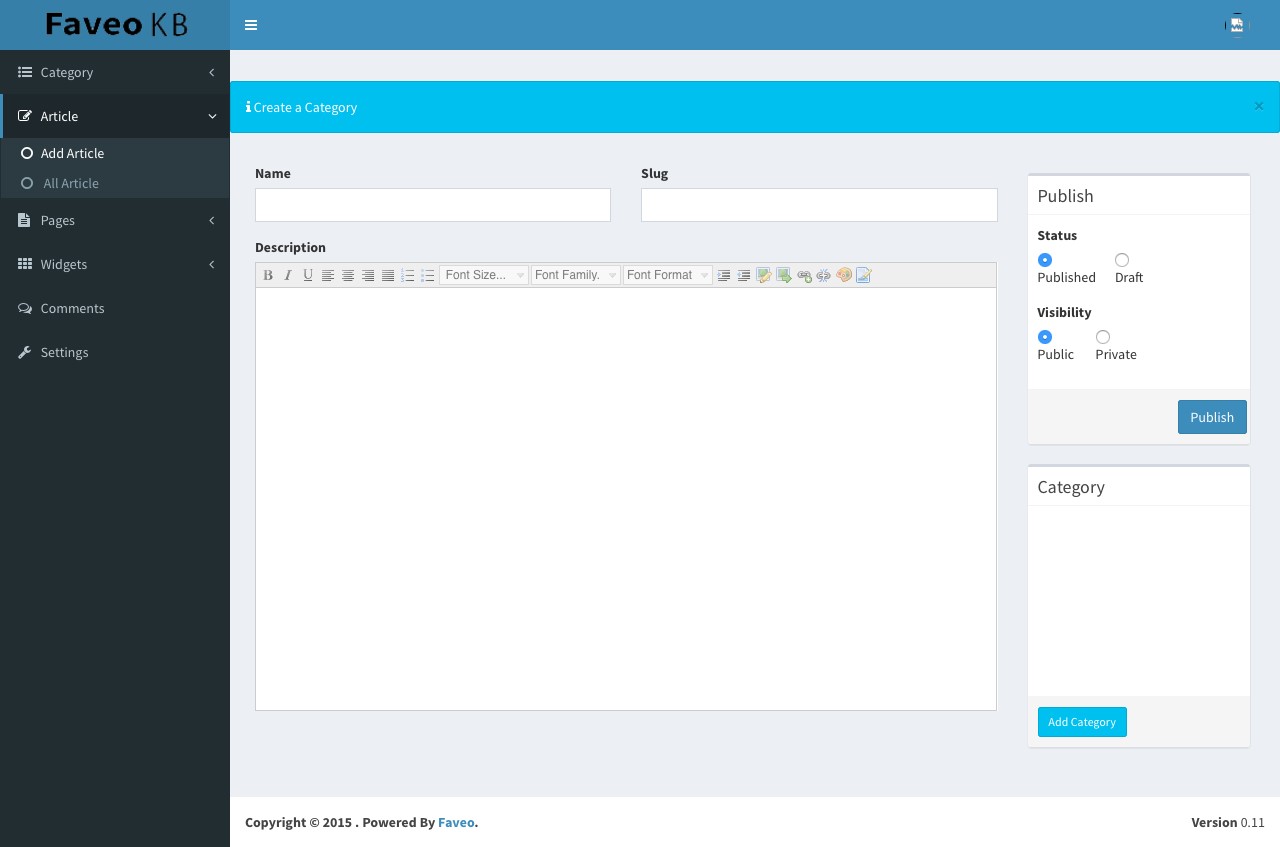
Add, update & delete Article In the sidebar menu, click on KB and sub dropdown Articles >> All Articles Here you will see existing Articles if any and also option to add new Articles or update or delete existing. Articles are linked with category and every article can be put into category
Faveo creates a profile for every registered user. App picks up Gravatar image associated with registered email address of the user, User also has option to change upload different profile image
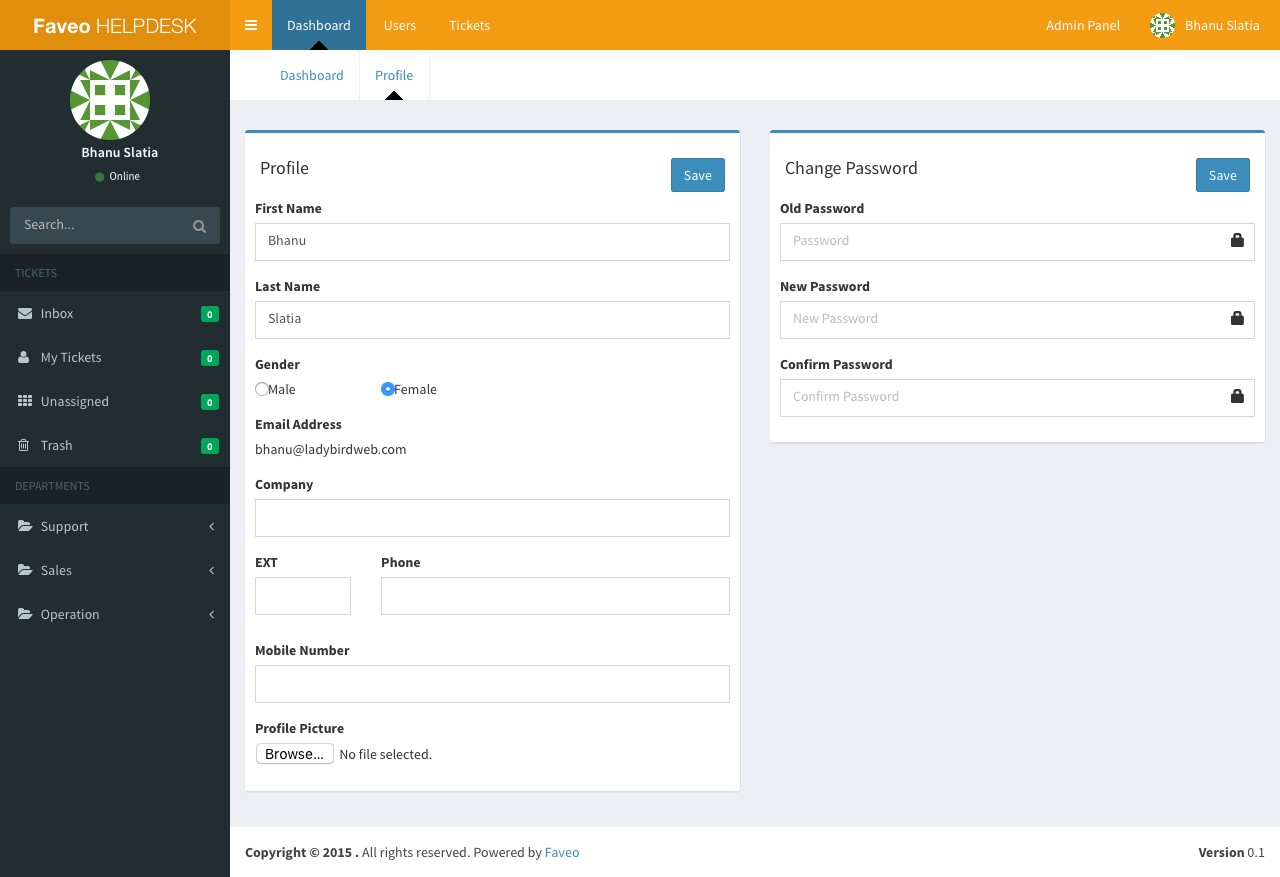
Profile screenshot
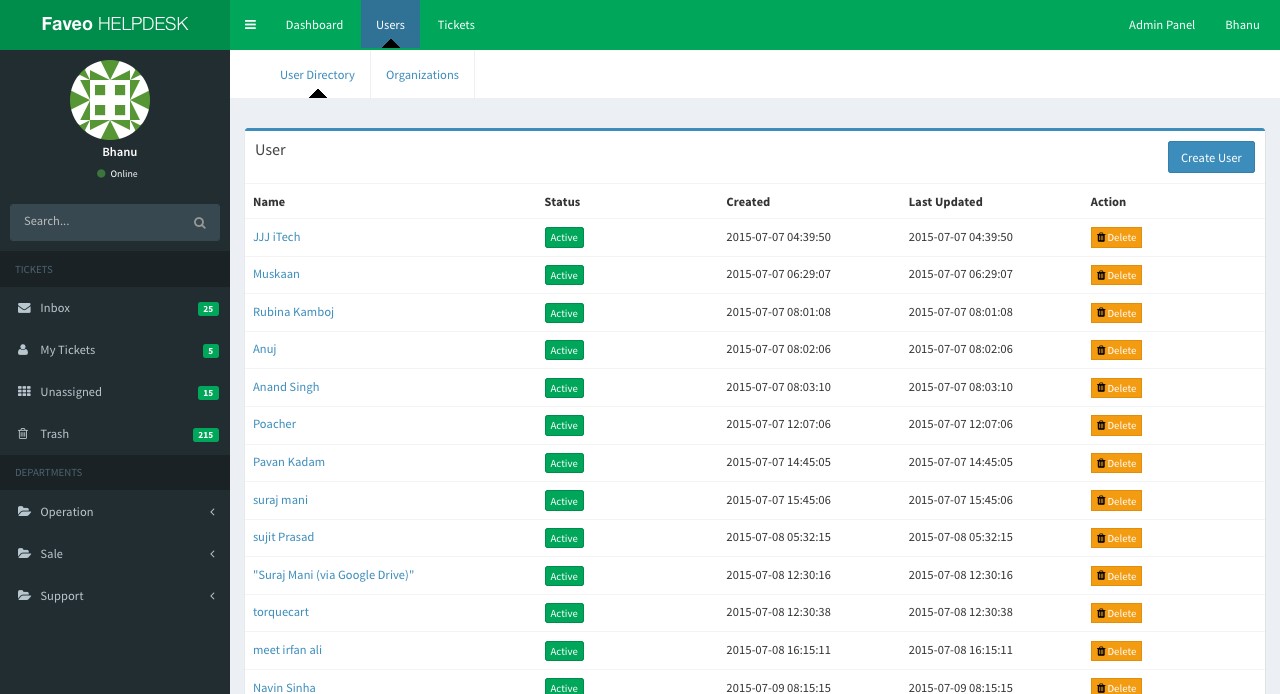
Agent can search the user via user name, email or organization. Agent can view all the previous tickets associated with particular user
To get into setting of Faveo click on Admin panel on the top and then click on settings
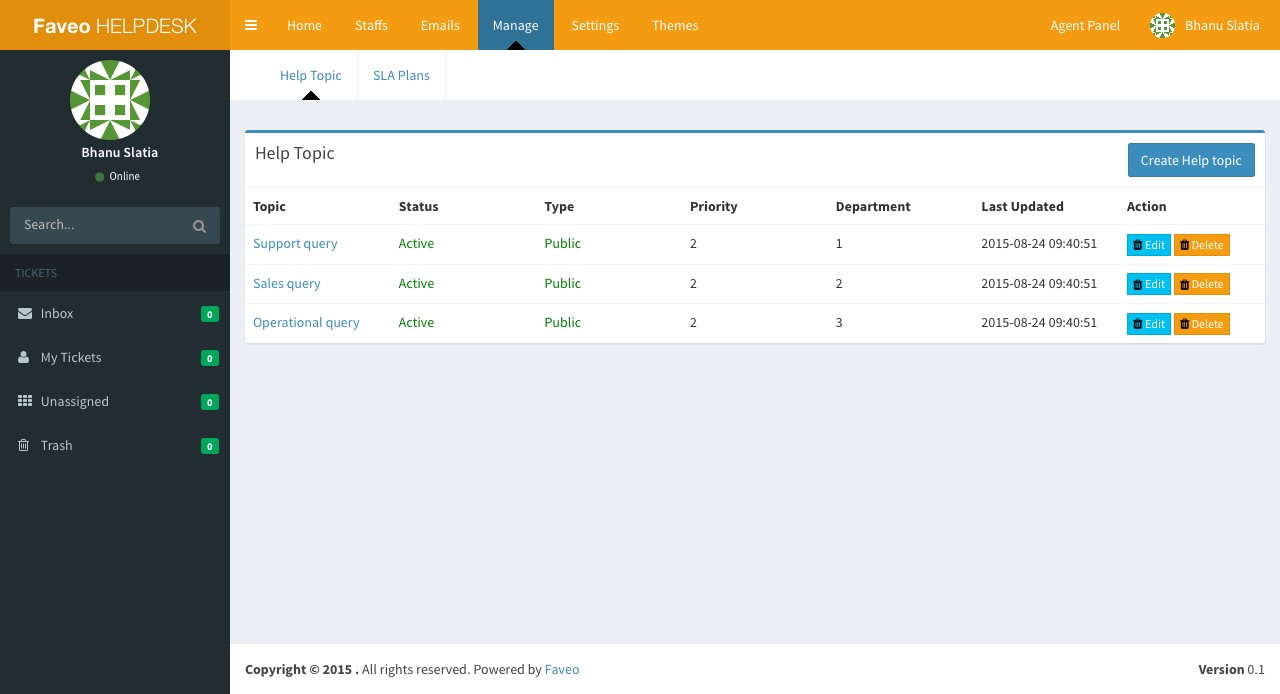
Faveo has many options that can be configured, Under settings & Manage tab these options can be found. These are pretty straightforward option with tool tips, so not getting into details
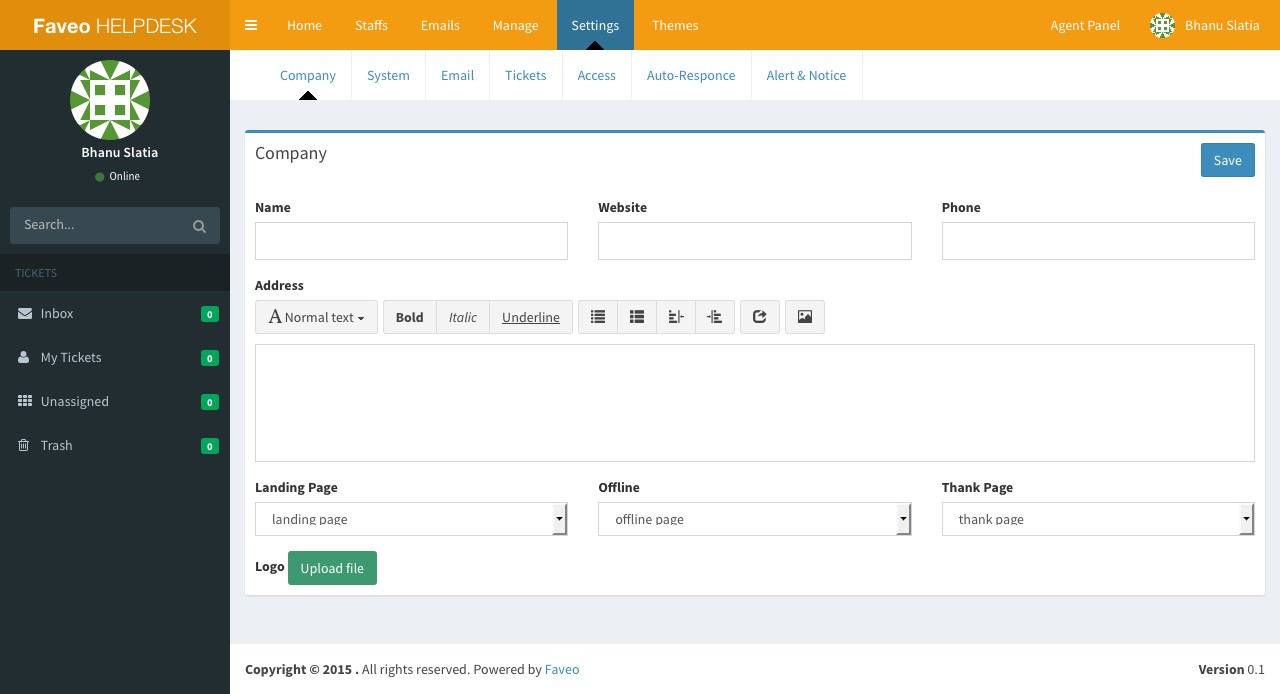
Setting
There are two basic email setting that are required for the system to work Incoming email and outgoing email settings have to be configured


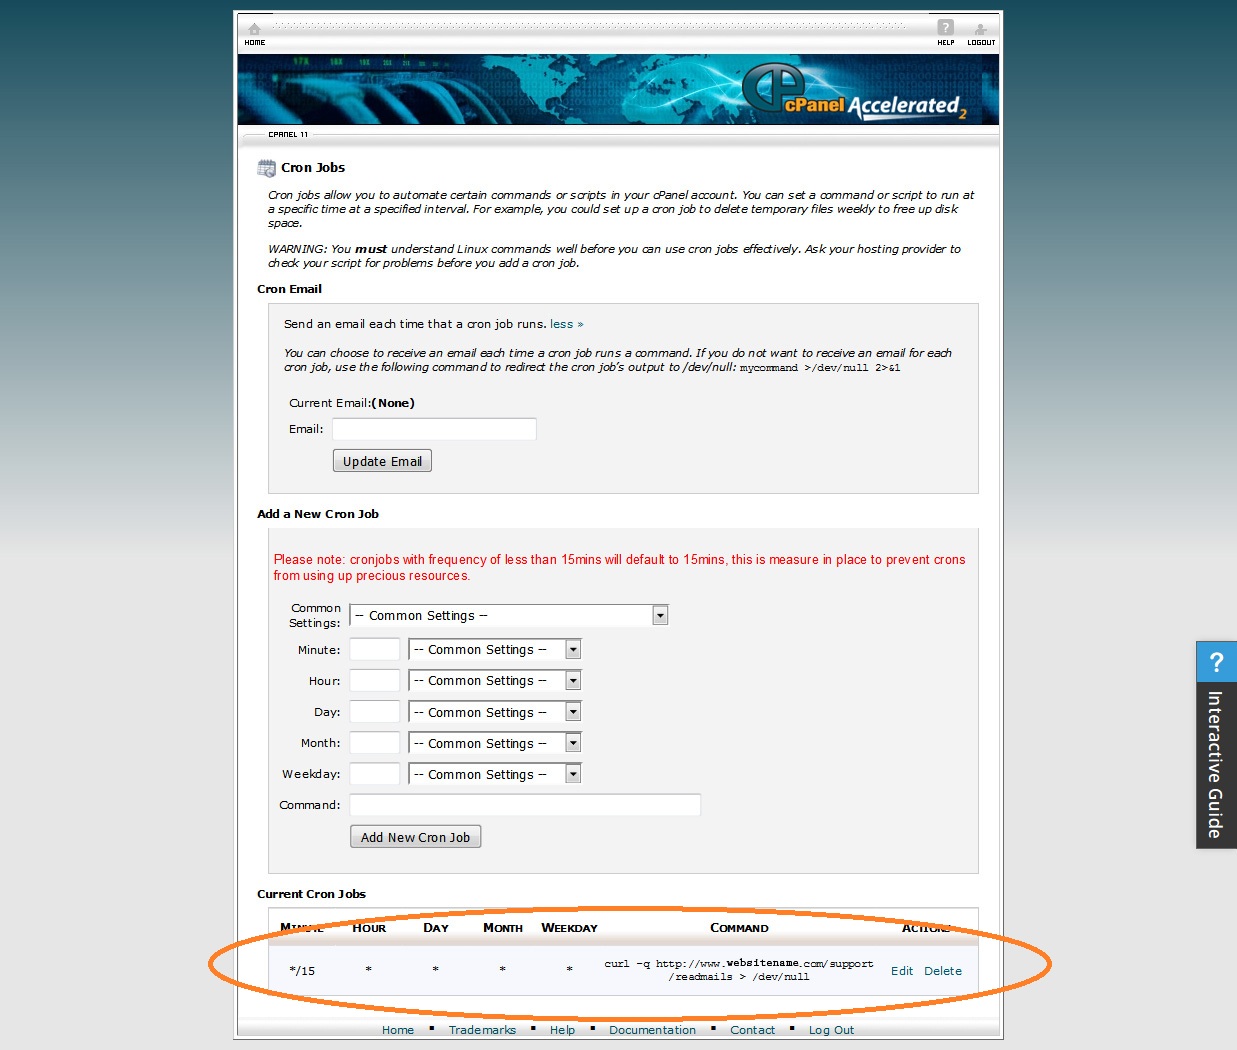
This is the URL for running a script to read incoming support email at the frequency it is executed by Cron
We will come up with this guide soon.
2015 © Copyright. All Rights Reserved
Faveo HELPDESK Powered
by Ladybird Web Solution Pvt Ltd